Natural Stone Project Planning: Why Strategy Comes Before the Cut
Every natural stone project requires decisions from the start. Wrong decisions only become visible much later — on the construction site. By then, they are usually expensive and remain visible long after completion. Here are the five phases of a professional natural stone strategy to avoid costly mistakes.
Where Natural Stone Projects Really Fail
An architect and client agree on a natural stone. The material is convincing in samples and renderings. Months later, the cut-to-size pieces arrive on site — and the veining runs in different directions. What looked like a unified material in the planning becomes a visual break.
This is not an isolated case. According to Construction Business News Middle East, around 30 percent of all global construction rework stems from errors in material procurement and installation. The risk is particularly high with natural stone: identical reorders are extremely difficult to achieve.
Professional stone strategy does not begin with the supplier. It can be divided into five phases that should be completed before the first sample order.
The First Three Phases: What Must Be Clarified Before Any Sample Order
Phase 1: Area and Load Analysis
A hotel floor in a reception hall carries a high traffic load. An exterior facade in the Mediterranean region is exposed to intense solar radiation — thermal expansion and UV stress determine the material choice. In northern Europe, freeze-thaw cycles play a greater role: water absorption determines whether the appearance after the first winter still matches the design. A spa area with permanent moisture requires water-resistant stone with very low absorption. A staircase requires a very hard stone that maintains its surface slip resistance over time. Before any material comes into consideration, the areas and loads must be defined: traffic load, climate conditions, lighting. For interiors, a wide range of stones will work. For exterior facades, the selection is smaller and requires appropriate quality management.
Phase 2: Material Compatibility
Stone types differ significantly in water absorption, compressive strength and frost resistance. For natural stone facades in climatic zones with freeze-thaw cycles, water absorption is critical: if it is too high, slabs can bow outward like an arc — the so-called bowing effect. The appearance after the first winters no longer corresponds to the installation state. For every stone selection for exterior use, compressive strength and frost resistance must be tested against the climate conditions of the project. What convinces in the showroom must hold up under real conditions.
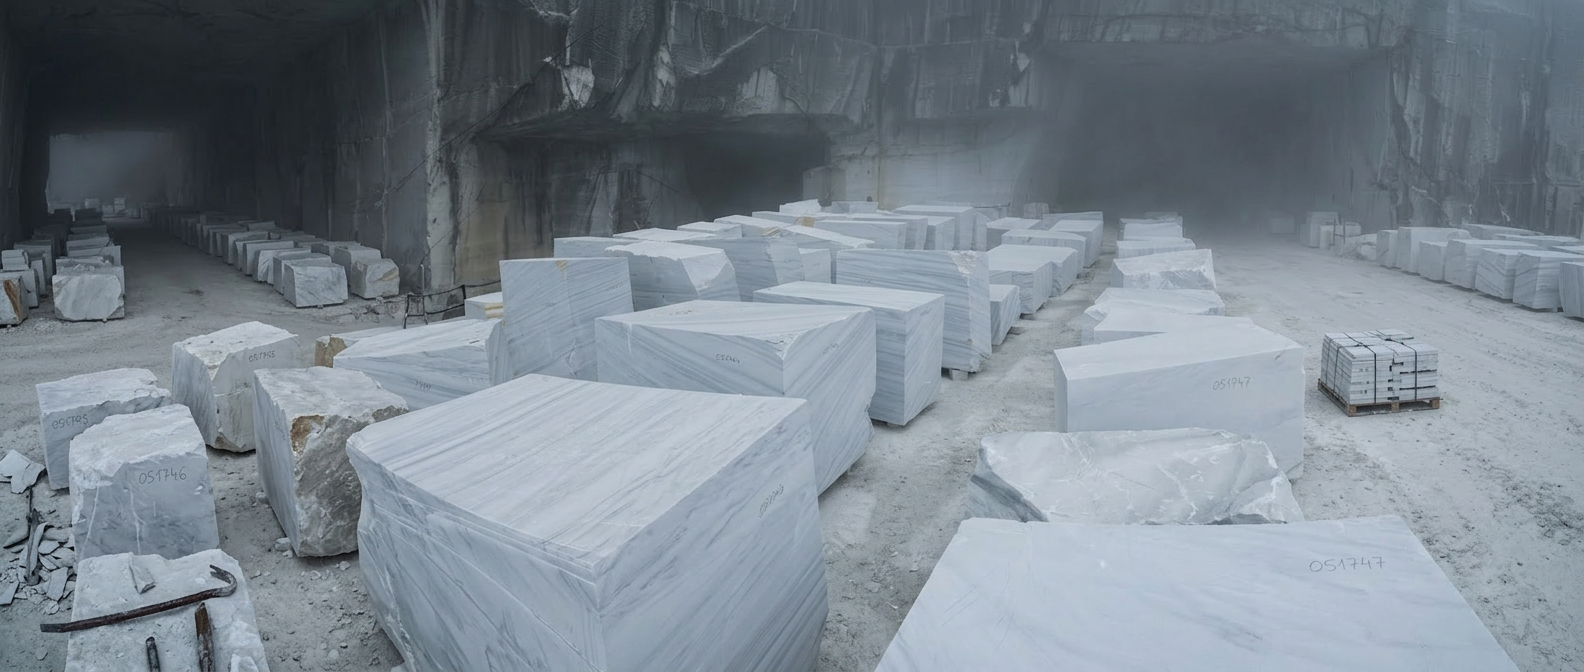
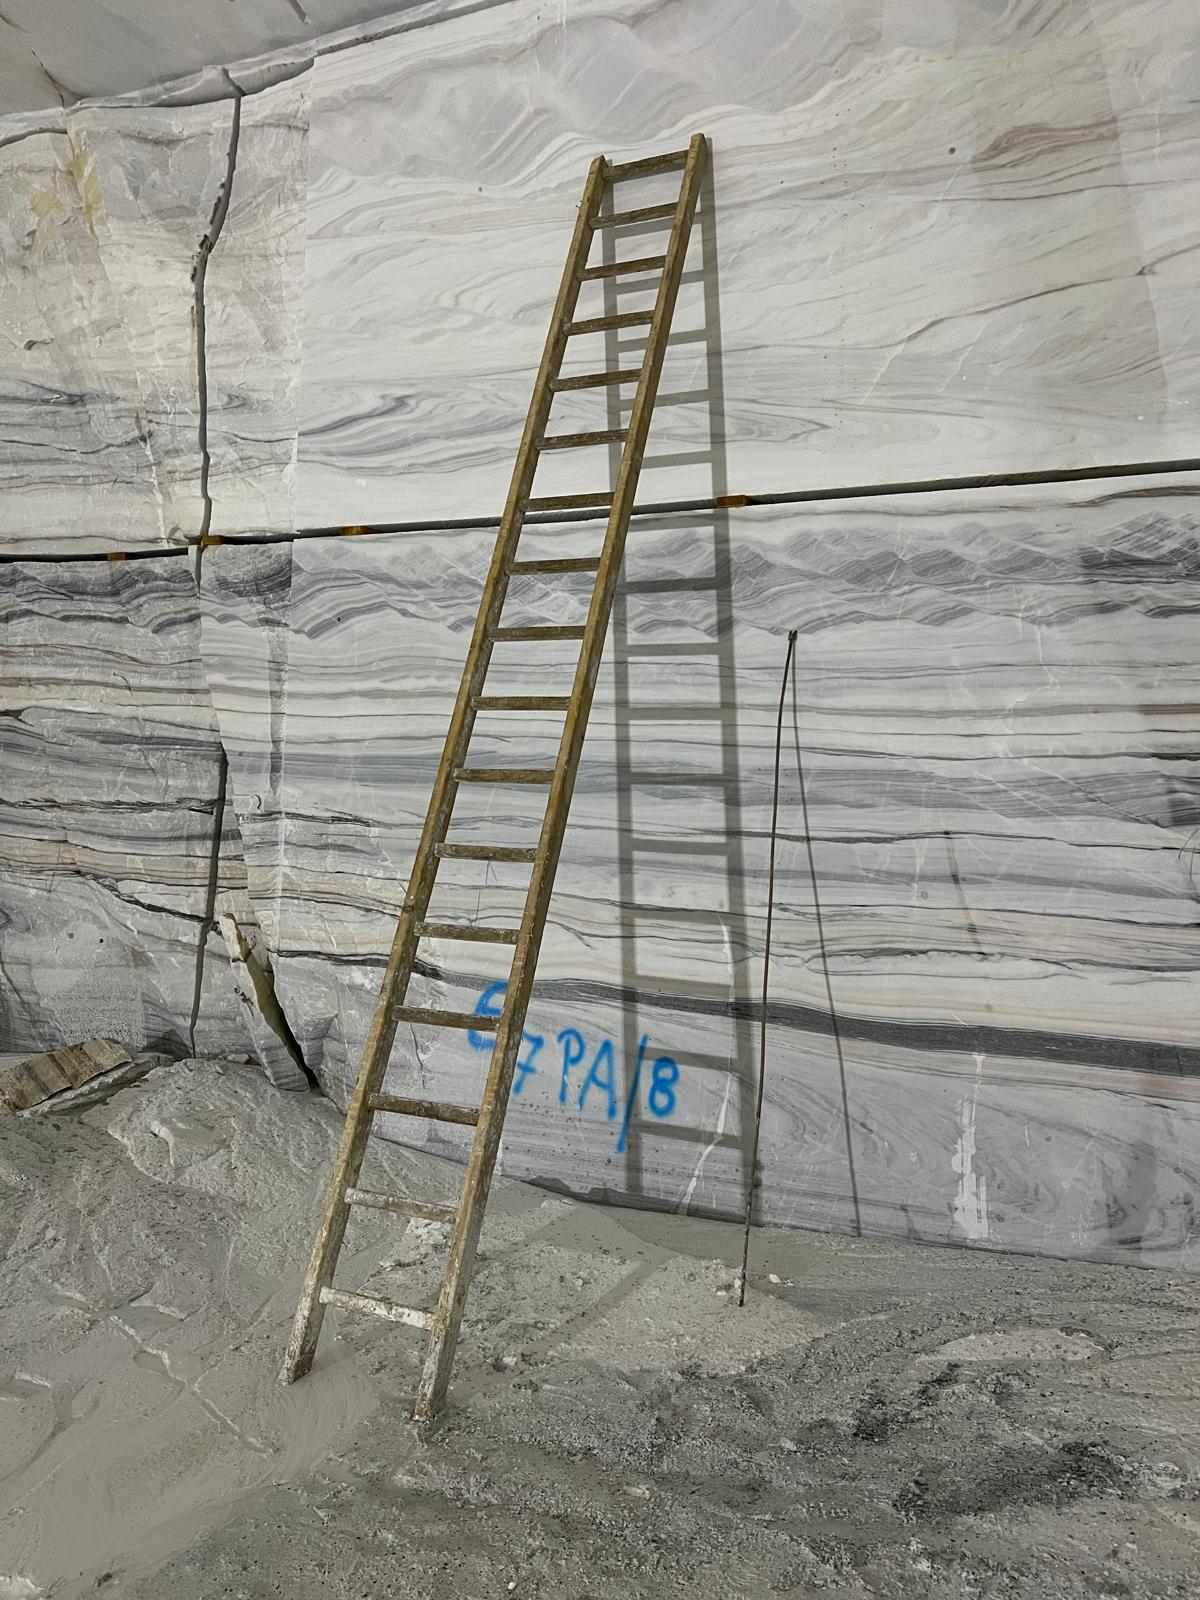
Phase 3: Block Selection
Buying natural stone from a catalog photo is possible — but the actual block can differ significantly in color and veining from the sample. Professionals visit the manufacturer and inspect blocks on site: the blocks selected for the project are reserved directly and linked to the project. If a personal block inspection is not possible, digitally recorded blocks via 3D scan and qualified photos offer a practical alternative. They show the block, not a promotional image. This is not identical to a physical visit — but it is the best alternative when direct inspection is ruled out.
Bei Großprojekten beginnt die Blockauswahl oft auch schon direkt im Steinbruch.
Phase 4: Slab Layout — The Architectural Decision
Placement order: deciding which slab goes where before the first cut is made. This is decisive for slab utilization and for the design outcome.
Slabs from one block are sawn sequentially and numbered — their order within the block is the first indicator of their visual relationship. Dominant veining planned as a design element can become a visual disturbance if placed incorrectly. This is not merely an aesthetic question — it concerns the entire spatial experience.
If a continuous line of movement is desired, slabs with diagonal veining should be positioned in the direction of ascent or movement — the eye follows the stone. If the same slabs are rotated 90 degrees, the veining cuts across the movement. The whole process can be simulated on screen to reach a decision for the intended space. Making the same decision at the cutting saw costs more material and cannot be executed with absolute perfection.
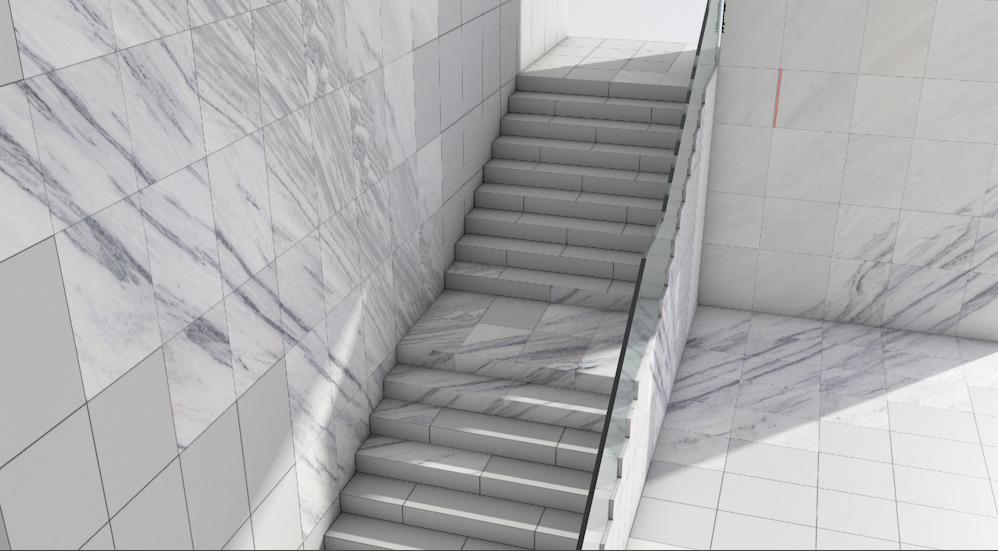
Test-Rendering für die optische Wirkung des verlegten Steins während dem digitalen Dry-Layout der Gesamtfläche
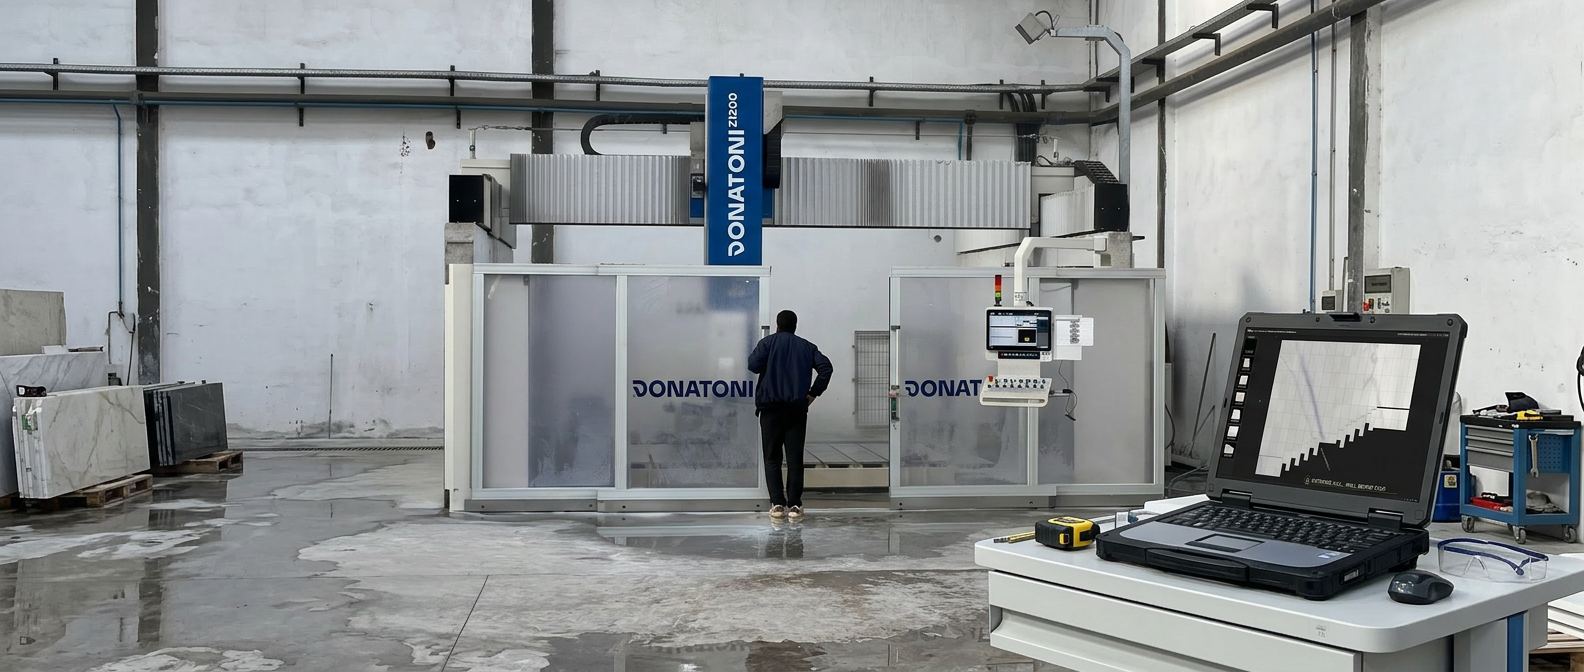
Digital Dry Layout — Slab Placement Before the First Cut
Physical dry-lay is still practiced even on large projects. With 2,000 slabs, the process is divided into smaller units — around 200 slabs each, ten passes, with connecting rows between sections. Each pass requires physical presence. The effort is considerable. DDL replaces this step digitally: real slab photos, positioned to scale on the project surface, veining patterns verifiable, cutting plans visible. Lasa Marmo has converted its entire production workflow to DDL — "no project without DDL anymore." Result: up to 20% cost savings. The lever sits in yield: a too-narrowly specified range causes 60%+ waste, while a calculated-sensible range stays below 20%. How the range mechanism works in practice is shown in the workshop story with twenty architects. Reservations can be adjusted right on a mobile device in the warehouse — extend the period, remove individual slabs, or end the reservation, without going back to the desktop. Learn more: Project Planning with DDL.
Discover Project PlanningHow Digital Slab Planning Works in Practice
Slab Digitization as the Starting Point
Every slab is recorded with a real photo: veining, color tone, dimensions, source block. This replaces catalog images with actual inventory — uniquely identifiable throughout the entire project lifecycle. Every slab is clearly assigned in the system. Mix-ups and reorders caused by discrepancies between offer and warehouse reality are avoided.
Blending and Sequencing on the Project Surface
Real slab photos are positioned to scale on the project surface. Veining is not just verifiable — veining can be placed deliberately. Dominant slabs are set as accent points; more subtle surfaces fill in with matching material. What harmonizes visually — and what disturbs — shows up in the plan, not when laying.
Approval with Complete Documentation
The digital dry layout is approved for production via a two-stage process — with archiving of slab references, cutting plans and photo documentation. Architect, producer and installer work from the same baseline. Subsequent changes are traceable. For luxury projects with long timelines, this is not a comfort option — it is the prerequisite for the result matching the design.
Phase 5: When the Planning Works, There Are No Complaints
Installation is the phase where a good strategy becomes tangible. Everything sits as planned, the transitions align, the light falls on the installed surface and turns it into a finished image. No re-cutting, no reordering, no disputes.
Natural stone is the only building material where planning and material are so closely intertwined — because every slab is unique. This quality makes natural stone exceptional. It makes improvisation costly. But this exceptionality makes natural stone projects something extraordinarily lasting. Something the eye of the beholder can never quite get enough of.
Further reading: Digital Slab Planning, Light, Shadow and Veining and Software for the Stone Industry.
Explore DDL Solutions


The 5 Phases in Concrete Terms — With Real Project Data
Jan Keller demonstrates in 30 minutes how digital slab planning works in your own project — from area analysis to the approved layout plan.