How To Plan Natural Stone in Your CAD Project

Looking to add natural stone to your next CAD project? Look no further! This guide will show you how to easily add digital, true-to-size natural stone to your project. If you've ever tried to plan out a digital stone project, you know it can be a real pain. You've probably spent hours trying to figure out how to get all the pieces to fit together, only to end up frustrated and with a headache. But don't worry, we've all been there. The good news is that there is a solution.
Contents
Requirements to add stone to your CAD drawings
All you need is some knowledge and praxis of how to work with CAD programs. You can interface with the digital drylayout platform via DXF files.
By completing the grids with polylines per wall stone and adding an address, your surface becomes blendable. This means that you can easily transfer any joint pattern to the planning tool and change it at any time. You can also integrate details into your plans using this layer structure.

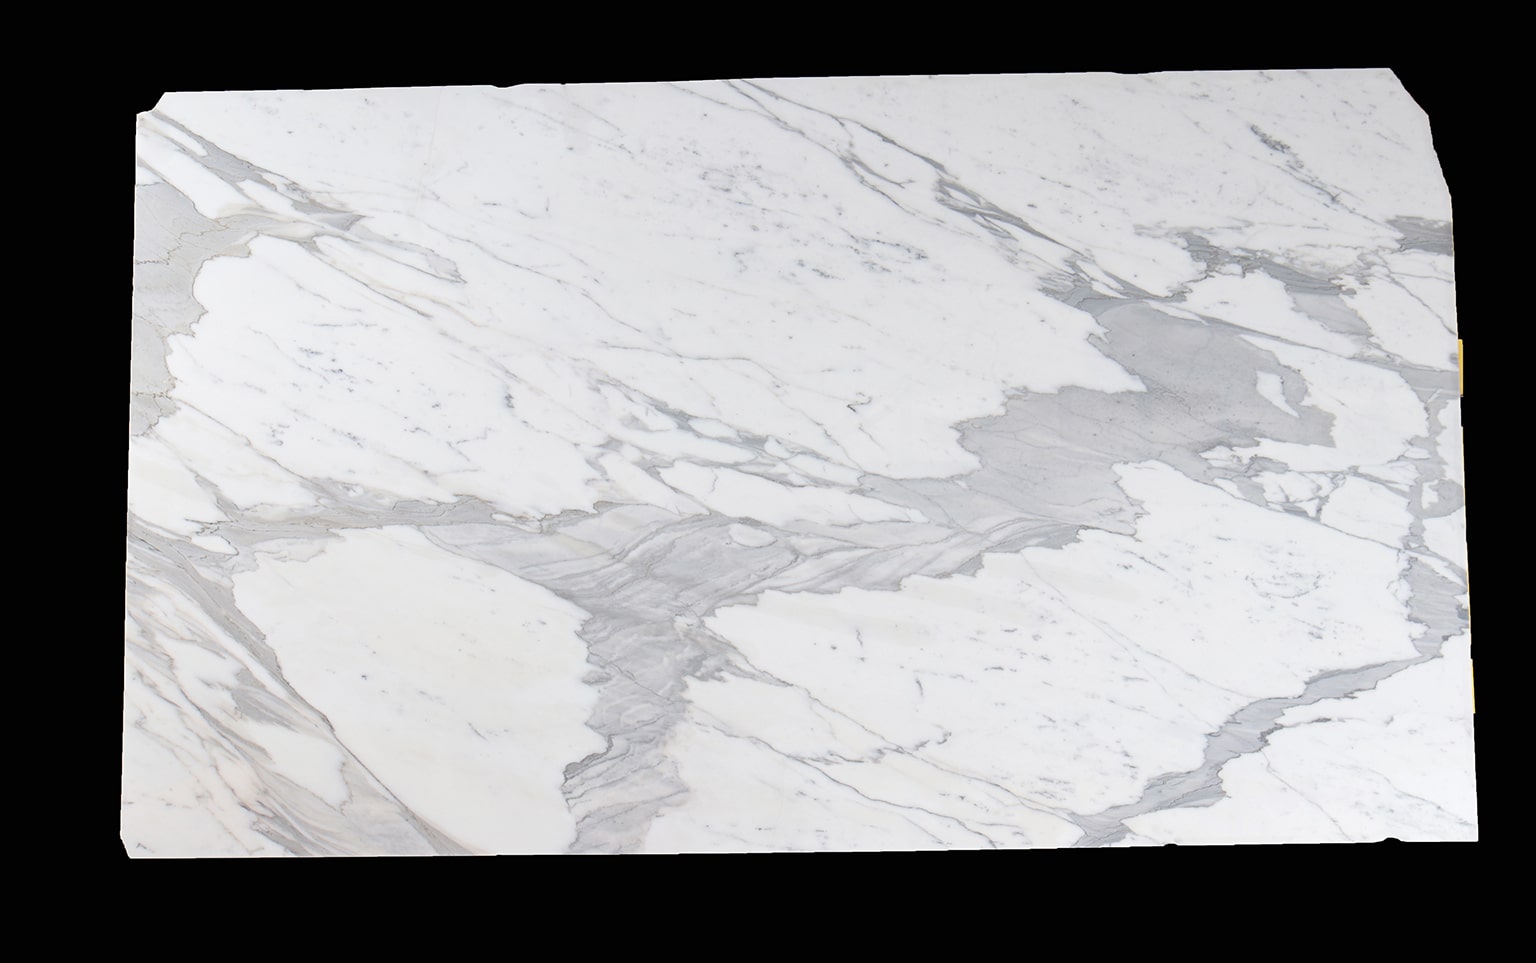
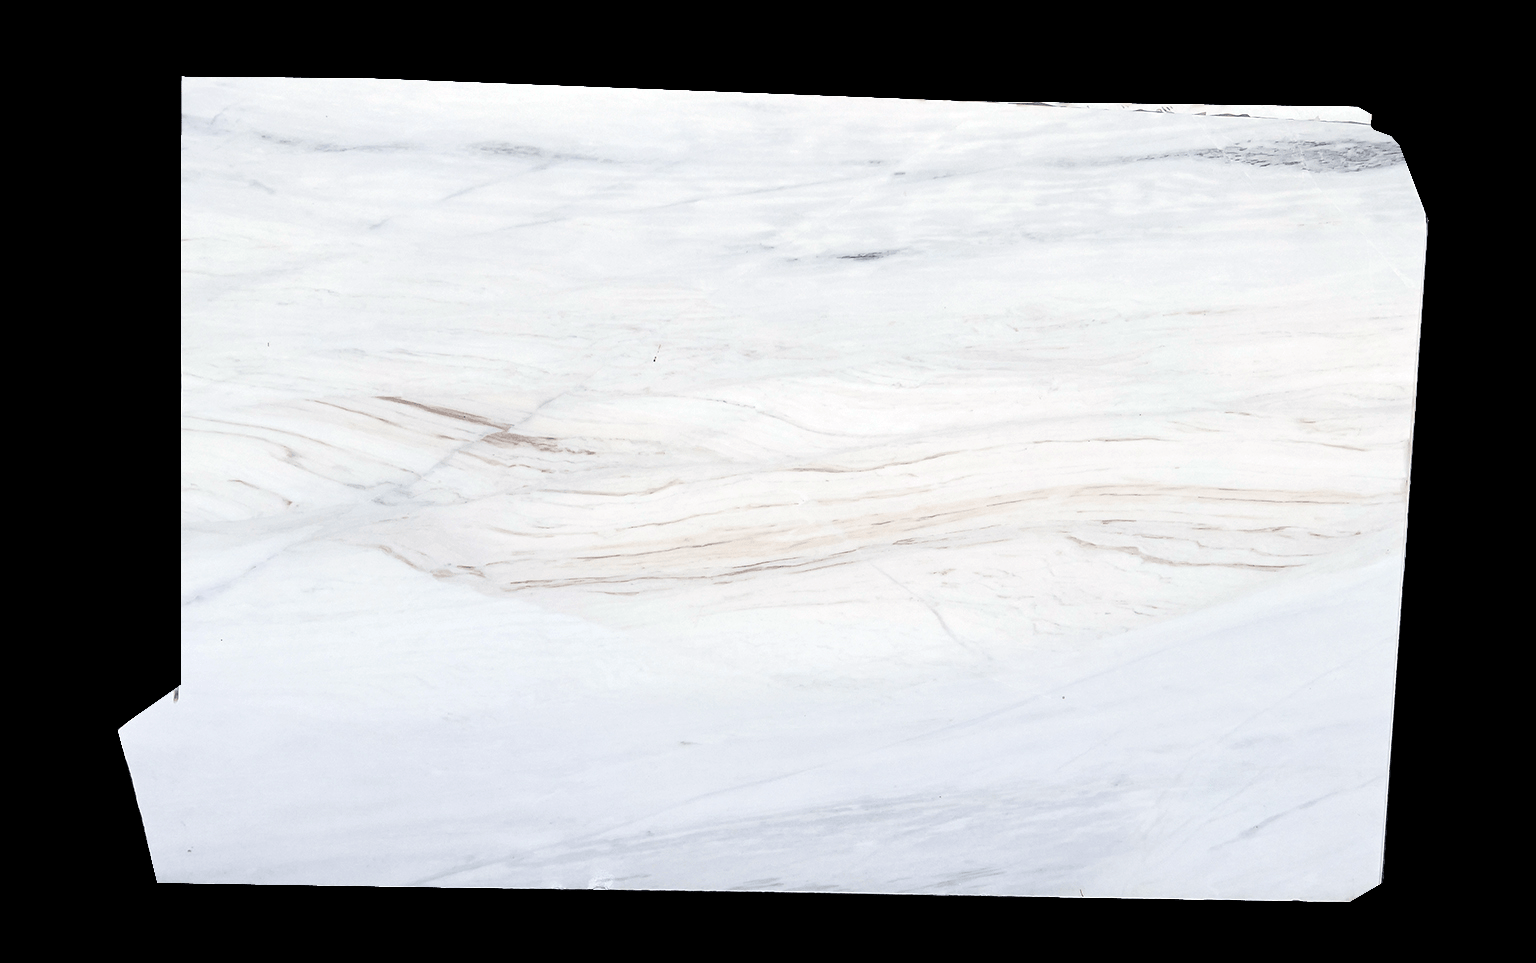
Do you have a selection of materials you want to work with? Not sure what kind of stone to use? Our stone gallery offers plenty of inspiration to get you started.
You already got some pictures of your favorite stone? No problem! Whether they are captured with a professional camera or by smartphone. We are happy to assist with making your slab pictures blendable for your project.


Trusted by top architects.
Get Started
3 Ways to digitize slabs

- Scanning is a process that is done after surface treatment or honing. There are horizontal or vertical scan-systems. Scanning is expensive because of the initial investment. With LED lighting systems, the produced images are of constant quality. There is the possibility of automatic color adjustment depending on the material by preset. Dimensional accuracy is problematic with line production scanners.
- The photo booth is a digitization process that is done after the surface treatment. There are lying or standing systems that are available. The photobooth is a cheaper solution when compared to scanning. The dimensional accuracy is given with a fixed installation. The quality is very good. There is no dependence on the light situation when using flash systems.
- Smartphone digitization is a process that can be done without investment, and it is independent of the location. The image quality can keep up with the above-mentioned systems when using high-end smartphones and a good lighting situation. The slabs are separated from the background with the assistance of AI. Dimensional accuracy of +/- 5mm can be achieved with little effort. Manual width measurement is required for calibration.
With these 3 options, it is possible to display the slabs in a gallery and to search for them according to visual criteria or dimensions. Matching slabs can be used immediately in the digital planning tool for the desired design.

If you're looking for a quick and easy way to incorporate natural stone into your projects, the smartphone photo option is a great option. The photos are sufficiently precise and with constant lighting conditions, differences in the stone (especially gradations in the background color) are shown in enough detail for planning. This is a free and fast way for all architects and designers to digitally integrate natural stone slabs into their own projects.

Digital design to production
Your design should be produced precisely. The digital planning tool compiles the necessary data. The manufacturer can precisely prepare and execute the cutting through targeted reporting. Due to the parallel output of printouts per slab, this can also be realized on older machines.
In this way, marble, granite, sandstone, travertine, quartzite and all kind of veined stones such as Calacatta, Borghini and Panda White can be precisely planned.

Advantages of digital planning
There are plenty of reasons to love digital stone planning. For starters, you can work from anywhere – which is great if you have a flexible lifestyle or are working on a project from another country. In the past we’ve seen teams work in one project together across countries from New York and Atlanta to Athen.
A great plus: all your projects are neatly stored in one place. All plans are also updatable, so if anything changes, you can easily make the necessary adjustments.
Another big advantage is that you can create fast variants – meaning you can try out different designs without having to start from scratch each time. Digital planning will allow you to blend complex geometries with ease. It will assist you in your design ideas and in selecting the best stone for your needs. All of this makes it possible to realize projects quickly and easily.
Reports and mass determination are also much easier, so you can quickly see how your design is shaping up. These reports can also be used to get offers from suppliers and serve as data you need for BIM. Plus, if you're working on a team project, you can easily share results and work collaboratively in real time.
In terms of sustainability and cost, digital stone planning offers a number of advantages. With digital stone planning, slab yield can be much more accurately controlled, leading to less wastage and therefore a reduced impact on the environment. In addition, digital stone planning can help to eliminate the need for travel, which can further reduce emissions and save on costs.
Finally, digital stone planning can also make it easier to replace cut-to-size stones later on if necessary, without the need to store slabs from the original source as attic stock. This can save time, money and hassle in the long run.
All in all, there are plenty of reasons to love digital stone planning!

The glorious 6 steps to blend a project
In 6 steps from CAD plan to precise blending. Whether it's a bathroom, floor, wall, staircase or a complex project with multiple production sections, the basic steps are always the same.
- Complete your joint layout with polylines and unique addresses.
- Start your project on the DDL platform
- Upload your plans
- Choose your material
- Start your blending and create your design
- Download your blends and project report
Interested in professional training? Get in touch with us: